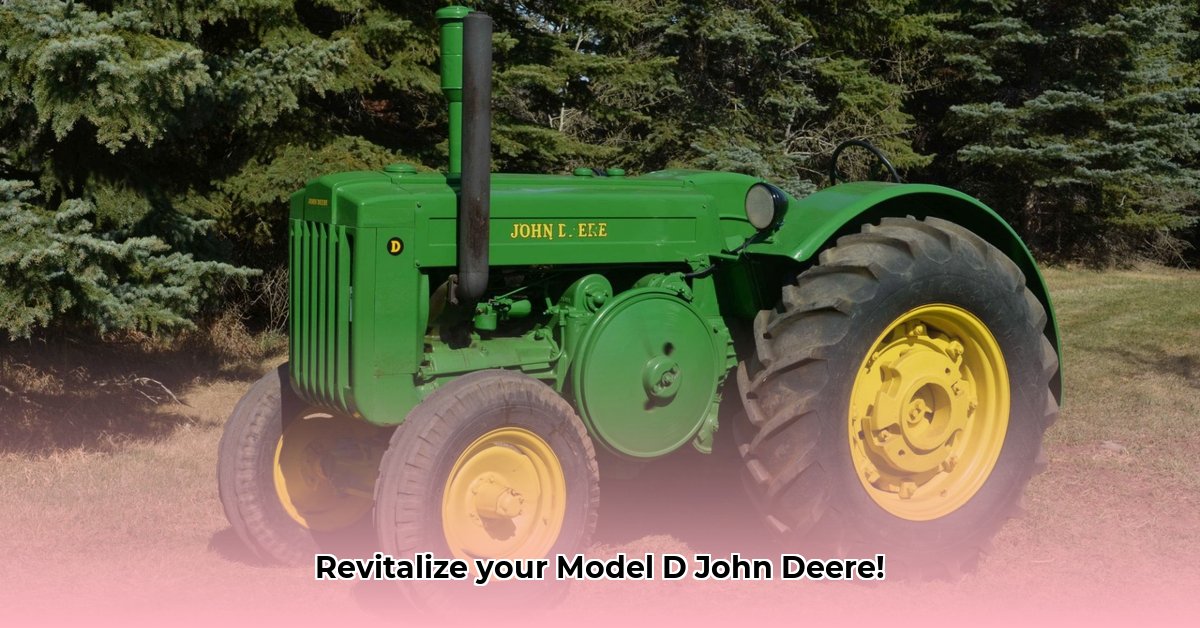
Ever heard the satisfying rumble of a vintage John Deere Model D? It's more than just a nostalgic sound; it's a testament to enduring engineering and, surprisingly, a symbol of sustainable agriculture. This isn't merely about restoring an old tractor; it's about resourcefulness, preserving history, and demonstrating that "old" doesn't equate to "obsolete." For more detailed specs, check out this helpful resource: Model D Info. This guide will walk you through the process of reviving this iconic machine, emphasizing environmentally conscious practices at every step. We'll cover everything from sourcing parts to eco-friendly repair methods, connecting you with a vibrant community of fellow enthusiasts along the way.
Why Restore a Model D? A Sustainable Choice
Beyond the undeniable coolness factor (and let's be honest, these tractors are cool), restoring a John Deere Model D offers compelling reasons rooted in sustainability. You're preserving a piece of agricultural heritage – these machines were workhorses, shaping farming practices for generations. More importantly, restoration is a profoundly eco-friendly choice. By reusing existing materials, you avoid contributing to the considerable resource consumption and energy expenditure involved in manufacturing a brand-new tractor. It’s about giving a second life to a truly special machine. The personal satisfaction – gaining mechanical skills, connecting with a community, and experiencing the pride of accomplishment – is a significant bonus.
A Step-by-Step Guide to a Greener Restoration
Let's get our hands dirty! This guide breaks down the restoration into manageable phases, prioritizing sustainable practices.
Phase 1: The Great Disassembly
- Document Everything: Before you touch a wrench, photograph every nut, bolt, and wire. This detailed visual record is invaluable during reassembly.
- Meticulous Labeling: Clearly label each part as you disassemble. Use masking tape and a permanent marker for a simple yet effective system.
- Organized Storage: Keep all parts organized using labeled containers or bins to prevent loss or mix-ups. This focused approach prevents frustration later.
Phase 2: A Sparkling Clean
- Eco-Friendly Cleaning: Utilize biodegradable solvents and cleaning agents, minimizing environmental impact. Harsh chemicals are a definite no-no.
- Gentle Approach: Employ soft brushes and cloths to avoid scratching delicate parts. Think of this as a meticulous spa day for your tractor!
- Water Conservation: Minimize water usage during cleaning. Focus on efficient cleaning methods to reduce waste.
Phase 3: Assessment and Repair
- Thorough Inspection: Once clean, carefully assess the condition of each component. Identify parts needing repair or replacement.
- Repair Before Replacement: Repairing existing parts is always preferable to replacement, both environmentally and economically.
- Prioritize Reuse: Explore used parts before buying new ones. Online forums dedicated to classic tractors (a remarkably active community!), local salvage yards, or even your neighbor's barn might hold your treasure.
Phase 4: Sustainable Parts Sourcing
- The Used Part Hunt: Prioritize used parts; this significantly reduces your ecological footprint.
- Eco-Friendly Alternatives: If a used part is unavailable, opt for environmentally sound replacements, including lubricants and paints.
- Support Local Businesses: If purchasing new parts, support local businesses that prioritize sustainability and environmental responsibility.
Phase 5: Reassembly – Putting it All Back Together
- Photographic Guide: Use your detailed photos and labels as your roadmap. Take your time; rushing increases mistakes.
- Eco-Friendly Lubrication: Use biodegradable lubricants for smooth operation and long-term performance.
- Patience is Key: Reassembly demands patience. Don't rush; enjoy the process.
Phase 6: Testing and Fine-Tuning
- Gradual Startup: Start the tractor slowly, checking for leaks or unusual noises.
- Adjustments and Tweaks: Make any necessary adjustments to ensure smooth operation.
- Celebrate Your Success: Your hard work has paid off!
Sustainable Practices: Making a Difference, One Bolt at a Time
Restoring your Model D is more than just mechanical work; it's a commitment to environmental stewardship. Recycle or properly dispose of waste materials. Reuse containers and packaging whenever possible. This process isn't just about restoring a tractor; it's about restoring a mindful connection to the land.
Troubleshooting and Ongoing Maintenance
Even after restoration, regular maintenance is crucial. Regular oil changes using biodegradable lubricants are essential for smooth and reliable operation, extending the tractor’s lifespan and reducing future environmental impact.
Resources and Community
Connect with other restoration enthusiasts! Online forums, local tractor clubs, and historical societies offer invaluable advice, support, parts, and camaraderie.
Weighing the Pros and Cons – Is it Worth It?
Before starting, consider the advantages and disadvantages:
| Pros | Cons |
|---|---|
| Preserves agricultural history | Requires significant time and effort |
| Environmentally responsible | Parts sourcing can be challenging |
| Develops valuable mechanical skills | Can be expensive, depending on part availability |
| Fosters community connections | Requires basic mechanical knowledge and tools |
| Significant sense of accomplishment | May require specialized skills for complex repairs |
This guide provides a comprehensive pathway to restoring your John Deere Model D sustainably. Each step, no matter how small, contributes to a greener future while celebrating the legacy of this iconic machine. So, gather your tools, and let's bring your Model D back to its former glory!